Get Curated Post Updates!
Sign up for my newsletter to see new photos, tips, and blog posts.

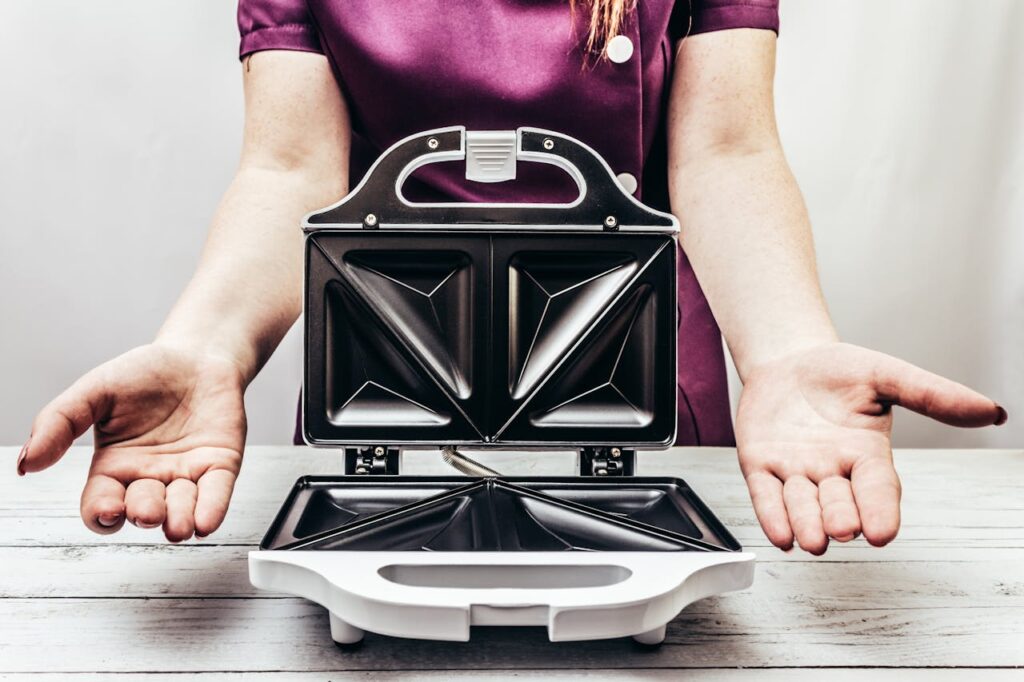
What could be better than a good sandwich? It is an ultimate source of satisfaction as well as comfort. However, if you thought that your sandwich game was limited to just bacon and two slices of bread, then think again! A sandwich maker takes your ordinary kitchen creations to an extraordinary level. Here’s how you can get the most out of your sandwich maker with tips, tricks and some delicious recipes.
Before we dive into our heavenly sandwiches, make sure the machine has been cleaned properly for use. Wipe the plates with a damp cloth and allow it to dry. Set it down on a flat heat resistant surface then plug it in. Most brands come with a light indicator which shows when it is hot enough to start making sandwiches.
The bread forms the basis for any excellent sandwich design. While plain white or whole grain loaf will do just fine, don’t shy away from trying something different. Why not go for sourdough or rye or even ciabatta? Keep in mind that the thickness of your bread will determine its cooking time – thicker slices may require extra cooking time to develop that perfect golden crust.”
To get that irresistible crispy outside, butter every slice of bread on the side. If preferred, alternatively you can also use olive oil or margarine that spreads easily. This not only adds taste, but it prevents the bread from sticking to plates.
Now comes the fun part – what goes into your sandwich! You can do anything or mix and match, but here are some suggestions:
Classical ham and cheese: Put a thin slice of ham with your favorite cheese. For an interesting twist, toss in a tomato slice.
Caprese Delight: Fresh mozzarella, tomato slices and basil leaves sprinkled with balsamic glaze.
Breakfast Bliss: Scrambled eggs, crispy bacon and a cheddar cheese piece.
Vegetarian Dream: Sautéed mushrooms, spinach and feta cheese
Remember less is more. By stuffing too much into your sandwich you will have a mess; besides everything must heat through uniformly.

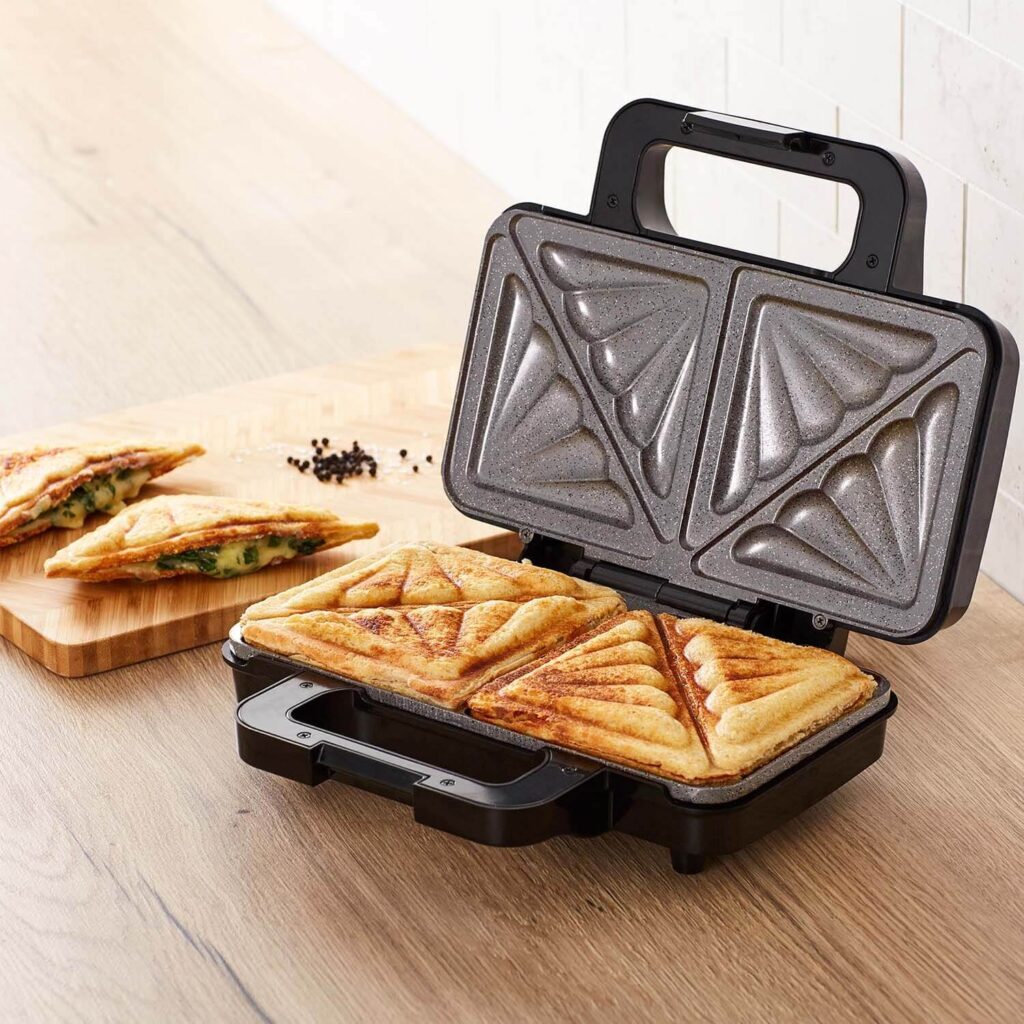
Carefully place assembled sandwich onto preheated sandwich maker and close the lid down. However, cooking times may vary depending on ingredients used as well as thickness of bread most sandwiches take approximately 3-5 minutes for them to be ready. Remember to check it so that it does not overburn.
Using a spatula, remove your sandwich from the sandwich maker when it is golden and crispy. Give it a couple of minutes to cool down – as hard as it may be to wait, this will allow the cheese to set and prevent burning.
Stuffed French Toast: Dip bread in egg mixture, fill with cream cheese and jam, then cook.
Quesadilla Shortcut: Use tortillas and fill them with cheese, chicken, and veggies.
Dessert Sandwich: Spread Nutella and banana slices between brioche bread for a sweet treat.
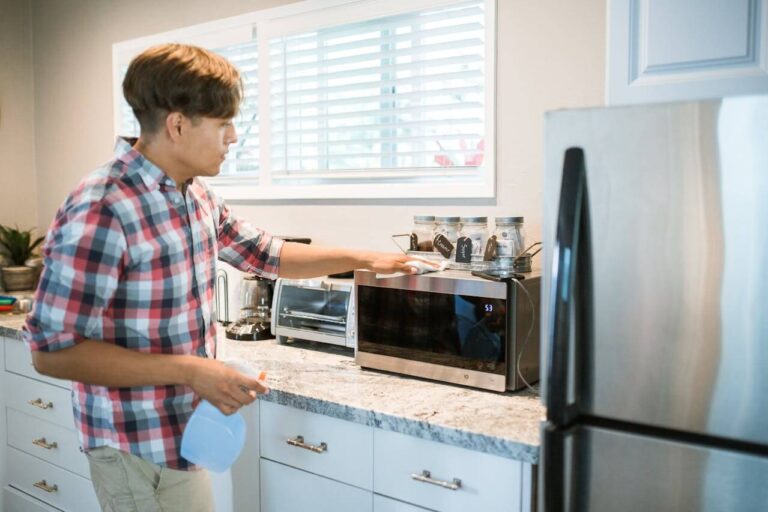
Once your sandwich maker cools down, use a wet cloth or sponge to wipe off any dirt on the plates. If there are some stubborn residues, try using gentle brush. Avoid using abrasive cleaners that can harm its non-stick surface.
The importance of a sandwich maker goes beyond being just another kitchen gadget; it serves as an avenue for unlimited innovation in cooking processes. From simple standards to gourmet wonders, gaining command over your sandwich maker can make every mealtime an enjoyable one hence turning an ordinary dinner into an extraordinary one. So, plug-in your appliance now gets imaginative with your sandwich making abilities!
What’s yours? Tell us about your favorite combination of sandwiches by leaving comments below!


Sign up for my newsletter to see new photos, tips, and blog posts.